How to organize your worksheets in folders
If we create lots of worksheets it can be difficult to manage them. To keep them organized, we can classify worksheets inside folders, so we can browse between folders and see only the associated worksheets.
We can create and manage folders from My worksheets in the sidebar of our teacher page.
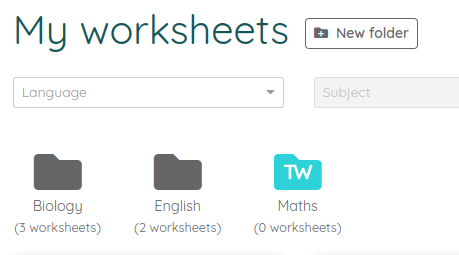
There we can view and browse the current folders and create new ones. To create a new folder click on the New folder button and input the desired name.

If you click on any of the existing folders, it will be opened and you will be able to view the list of worksheets assigned to that folder. You can also change the name and the background image of the folder by clicking on the More actions menu next to the name. If there are no worksheets inside the folder we can also delete it.
To organize your worksheets in the most precise way by subjects or groups, you can create up to two folder levels. To create a folder inside an existing one you need to click on the New folder button while inside the parent folder and input the desired name.
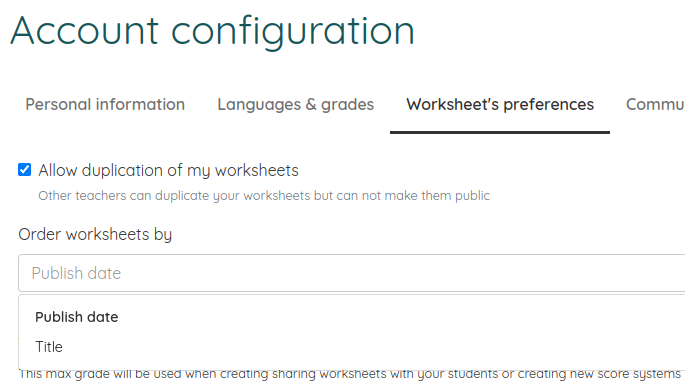
You can also change the order in which the worksheets appear in "My worksheets" and inside the folders. To do that you just need to go to the Account configuration page (you can find this page if you click on the top-right avatar) and inside the Worksheet's preferences tab you will find the "Order worksheets by" option. The available order fields are publish date (default) and worksheet's title. You can see an example in the following screenshot.
If we want to move a worksheet inside a folder (or change it to another one) we can drag the worksheet and drop it inside the folder icon. You can also click on the More actions menu from the worksheet page and select the Move to folder option and you will see a list of all the existing folders. Click on the name of the folder where we want to move the worksheet to assign it there.
